
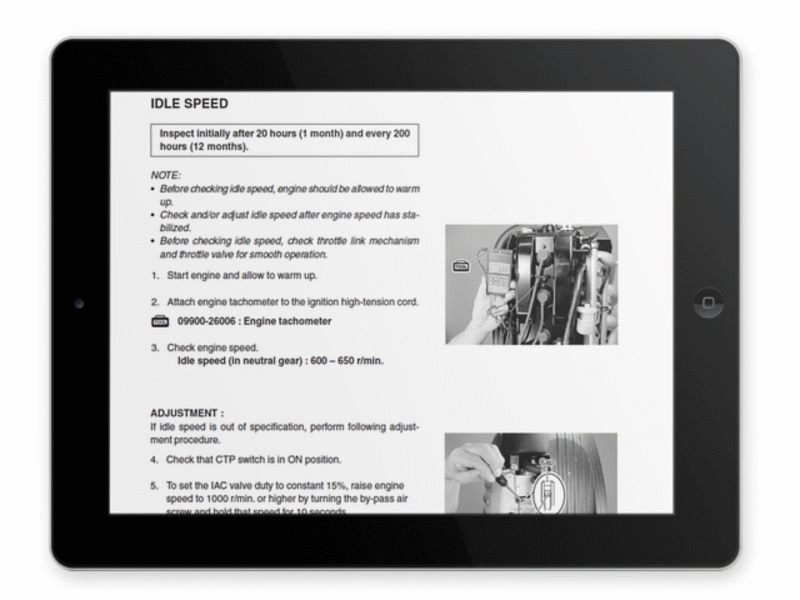
Its highly recommended to always use a outboard repair manual for your specific year and model outboard engine when preforming a cylinder compression test on your motor. Important information, including correct service procedures, specifications, pictures, illustrations and safety precautions may be included.
Primary Compression Test
Your 2-stroke outboard powerhead is an efficient pump. The crankcase must be completely sealed against pressure created upon the down stroke of the piston and the vacuum that’s created when the cylinders piston moves upward back to TDC (top dead center). When or if air leaks into the crankcase, abnormal combustion will occur because inadequate fuel supply will be brought into the crankcase. Even a small leak will result in a poorly performing powerhead as the fuel mixture will become lean causing the temperatures of the cylinder to increase. Lean air and fuel conditions increase cylinder temperatures beyond factory specifications.
Air leaks can occur around any seal O-ring, cylinder block sealing surface and gasket. Always reinstall new O-rings, gaskets and seals upon servicing the engine.
When the engine is running, soapy water can be sprayed or applied to the areas of the powerhead where the air leak is suspected. If bubbles are noted in those areas, an leak is present in that area. If oil is found around sealing locations or on ignition parts below the flywheel, a crankcase leak is present.
It is impossible to inspect the base of the lower crankshaft seal and powerhead while the powerhead is still installed. If every test and system has been exhausted, and the bottom cylinder is affecting performance, the lower seal should be further tested and investigated.
Adapter plates are available from most marine parts stores to seal the inlet, exhaust and the bottom base of the powerhead. You can also fabricate adapter plates by cutting metal pieces from aluminum or steal. The use of a gasket can provide an accurate stencil to draw-out a perfect pattern. Use rubber of silicone gasket making compounds to provide proper sealing of the plates.
1. Start by installing the adapter plates over the exhaust ports and the intake ports to provide a complete seal of the powerhead. You must make sure that you do not cover the water jacket holes.
2. Insert a air fitting that will accept a hand air pump into one of the adapters.
3. Pressurized the powerhead’s crankcase with 5 pounds of pressure using a hand pump or equivalent.
4. Once again, apply soapy water by spraying different sealing surface areas around the lower seal location and watch for bubbles. Bubbles that arise are indications of an air leak.
5. Next, turn the powerhead upside down, fill the water jacket with water. If bubbles are observed while applying pressurized air to the crankcase, damage to the cooling system is present. Damage to the cooling system could be in the form of cracks or corrosion holes in the cooling passages. This damage may or will cause the engine to overheat.
6. After you have completed the pressure test, reverse the operation by pulling a vacuum to apply stress to the seals in the opposite direction. Watch for the drop in pressure.
7. If leaks are noted, replace the gaskets or seals with new parts.
Secondary Compression Test
The pressure measured while preforming a secondary compression test is not as critical as the variation seen between cylinder to cylinder. On powerhead’s with more than one cylinder, a variation of more 15 psi or greater is a reason for concern. If your motor only has one cylinder, a difference or drop of 15 psi as compared to when the motor was new is also a reason for concern. If your not sure what the compression specifications were when the motor was new, refer to your repair manual for the specs.
NOTE: If your motor has been stored for a prolonged period of time, the piston rings might be relaxed. In this instance, compression results will read low. Make sure to run the engine to normal operating temperatures to acquire an accurate cylinder compression reading.
1. Begin by disabling the engines ignition system by disconnecting the lanyard clip. If your motor is not equipped with a lanyard system, use a jumper wire lead and attach one side to a suitable engine ground and the other side to the metal connector inside the spark plug boot, use one jumper wire for each plug wire. Do not every just remove all the plug wires.
CAUTION: Extracting all the spark plugs, then cranking over the engine may or will lead to an explosive situation if oil and raw fuel should spray out of the spark plug holes.
2. Extract all the spark plugs from the motor and keep them in the order of which they were removed. Examine the plugs, inspect the plugs for inconsistencies in color and for sign of damage and corrosion near the tip.
3. Take a compression gauge and thread the fitting into the number 1 spark plug hole. Make sure the fitting screws in correctly and avoid cross threading the fitting.
4. Make sure you position the throttle to the WOT (wide open throttle) position, it must remain there.
NOTE: On some outboard engines, a feature is included to prevent the throttle from opening to a minimum while the gearshift is in the neutral position. This ensures a safeguard to prevent over-revving.
5. Crank over the motor the same amount of times for each cylinder during testing. Zero out the gauge after testing each cylinder.
6. If your motor is equipped with an electric start option, count the number of second. On manual or pull start motors, pull the starter rope 4 or 5 times for every cylinder you test.
7. Write down the data from each cylinder. After all cylinders are tested, compare the readings. The should not be difference of more than 15 psi between any cylinder.
8. If your readings are below standard (not within factory specifications), perform a wet test. A wet compression test will temporarily seal the piston rings and possibly raise the compression.
9. Obtain a can of fogging oil and spray the perimeter of the cylinder walls and pistons. After the oil has been applied, retest that cylinder.
A. If the cylinder compression pressure increases, the piston rings are sticking. In some cases, you can remedy this problem by De-carbonizing the powerhead.
b. If there is no change in compression after the application of oil, the piston, piston rings or cylinder walls are worn beyond the factory wear limit. An overhaul of the powerhead or replacement will be needed.
10. If a low compression pressure reading of two adjacent cylinders on the engine were obtained, a head gasket may be to blame. Evidence of rust or water on the spark plugs could also be an indication of a blown head gasket.
Do these cylinder compression test procedures apply to my 1979 9.8HP Mercury outboard?
Yes these repair instrtions apply to the 9.8 hp Mercury. These instructions also apply the the following models:
1965-1966 3.9 HP 6HP 9.8HP 20 HP 35 HP
1967-1968 3.9 HP 6HP 9.8HP 20 HP 35 HP
1969 4 HP 7.5 HP 9.8HP 20 HP 35 HP
1970-1974 4 HP 7.5 HP 9.8HP 20 HP 40 HP
1975 4.5 HP 7.5 HP 9.8HP 20 HP 40 HP
1976-1979 4 HP 4.5 HP 7.5 HP 9.8HP 20 HP 40 HP
1980-1981 3.6 HP 4 HP 4.5 HP 7.5 HP 9.8HP 18HP 20 HP 25HP 40 HP
1982-1983 3.5HP 3.6 HP 4.5 HP 7.5 HP 9.8HP 18 HP 25 HP 40 HP
1984-1985 2.2 HP 3.5 HP 4.5 HP 7.5 HP 9.8HP 18 HP 25 HP 35 HP
1986-1987 2.2 HP 4 HP 6 HP 8 HP 9.9 HP 20 HP 25 HP 35 HP
1988-1989 2.2 HP 4 HP 5 HP 8 HP 9.9 HP 15 HP 20 HP 25 HP 35 HP
1990-1991 3 HP 4HP 5 HP 8 HP 9.9 HP 15 HP 20 HP 25 HP
1965-1970 45 HP 4 cylinder
1986-1989 50 HP 3 cylinder
1965-1985 50 HP 4 cylinder
1985-1989 60 HP 3 cylinder
1972-1976 65 HP 3 cylinder
1965-1971 4 cylinder
1976-1983: 70 HP 3 cylinder
1986-1989: 70HP 3 cylinder
1984-1986: 75 HP 4 cylinder
1987-1989: 80 HP 3 cylinder
1969-1983: 80 HP, 4 cylinde
1973-1977: 85 HP 4 cylinder
1987-1989: 90 HP 3 cylinder
1988-1989: 100 HP 4 cylinder
1988-1989: 115 HP 4 cylinder