 2001-2008")
The intake manifold removal procedures listed below pertain to the Suzuki DF90 (90-HP) outboard engines that were manufactured between 2001 and 2008. It’s highly recommended to use a factory repair manual when removing the intake manifold. Additional specifications or supplemental servicing information may be present for later models.
INTAKE MANIFOLD ASSEMBLY REMOVAL
Before attempting to take off the intake manifold, be sure to relieve the fuel pressure, remove batter cables from both the positive and negative battery terminals, and remove both side covers.
- Take off flywheel cover.
- Remove the air duct by taking off its two bolts.
- Disconnect the evaporation hose from the cylinder head cover and remove the hose.
- Disconnect both the fuel inlet hose and the fuel outlet hose from the outboard’s low fuel pressure pump.
- Loosen clamp and position a shop rag over end of the fuel feed hose (see illustration in repair manual). Be sure to drain any excess gasoline remaining in fuel hose into a suitable container.
- Detach 4 fuel injector connectors.
- Unhook the high-pressure fuel pump connector from the outboard’s fuel vapor separator.
- Take off the low pressure fuel filter bracket by removing the bolts that secure it.
- Take off the fuel deliver pipe by removing the two bolts that secure it. Then remove fuel injectors.
- Take off the fuel return pipe by removing the two bolts that secure it. Refer to the Suzuki DF90 repair manual for detailed pictures.
- Detach water outlet hose and water inlet hose from fuel return pipe.
- Position a container underneath the fuel return pipe. Then detach the fuel outlet and inlet hose from fuel return pipe.
- Take of the silencer case by removing the 3 bolts that secure it.
- Unhook the breaking hose from the silencer case.
- Detach the idle air control IAC sensor connector.
- Disconnect the closed throttle position CTP switch connector.
- Disconnect the idle air control valve connector.
- Disconnect the manifold absolute pressure MAP sensor connector.
- Detach the water outlet and inlet hose from 3-way joint. Refer to the Suzuki 90HP repair manual for pictures.
- Remove intake manifold assembly by taking off the nine bolts and two nuts that secure it.
Installation of the Suzuki 90-hp intake manifold is reverse order of removal. Upon installation, do not re-use the old gasket. Intake manifold bolt & nut torque specifications: 23 N.m (2.3 kg-m, 16.5 lb.-ft.).
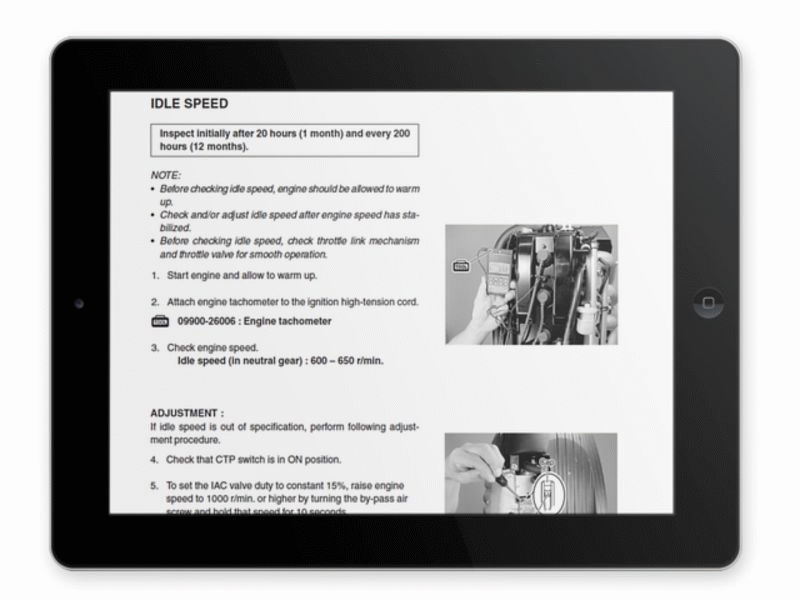
Refer to the repair manual for wire, fuel and hose routing diagrams. Be sure to check for fuel and water leakage. Ensure all parts are back in place. Step-by-step removal procedures, as well as detailed pictures, are available in the repair manual.
Leave a Reply